If you’ve ever wandered through a summer garden and caught a whiff of something sweet, like vanilla mixed with cherry pie, chances are you were near a heliotrope. These charming plants, with their clusters of tiny purple, lavender, or white flowers, have been a favorite in gardens for generations. Native to Peru and other parts of South America, heliotropes (Heliotropium arborescens) are tender perennials that most folks treat as annuals in cooler climates. They’re not just pretty they attract butterflies, hummingbirds, and bees, adding life to your yard. Plus, their fragrance can turn a simple backyard into a sensory delight.
I remember my grandmother planting them near her porch so she could enjoy the scent on warm evenings. Today, they’re making a comeback in modern gardens, thanks to their easy-going nature and heat tolerance. If you’re in a hot, dry spot, these plants thrive where others might wilt. But they’re not without their quirks they need the right care to flourish. In this guide, we’ll cover everything from picking the best varieties to keeping them healthy year-round. Whether you’re a beginner or have a green thumb, you’ll find tips to help your heliotropes bloom beautifully.
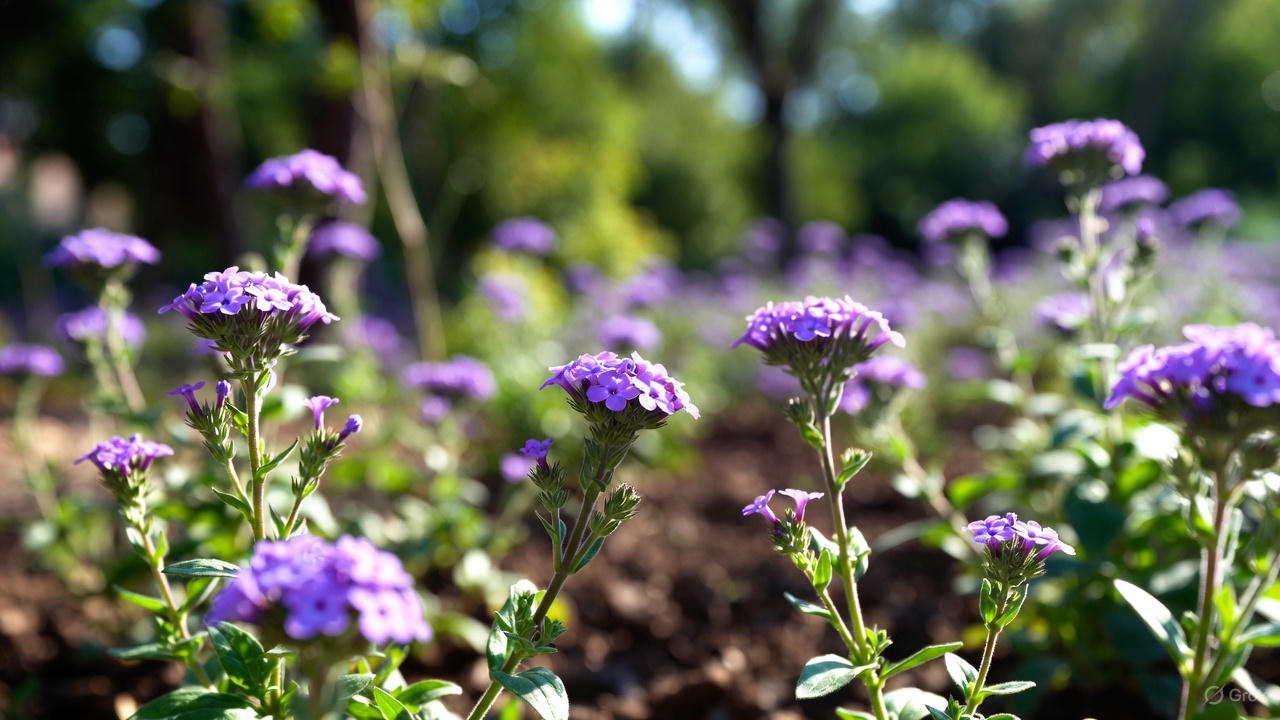
Heliotropes grow about 1 to 2 feet tall and wide, sometimes stretching up to 4 feet in ideal conditions. Their dark green leaves provide a nice backdrop to the flower clusters that bloom from late spring through fall. One fun fact: the name “heliotrope” comes from Greek words meaning “to turn toward the sun,” and sure enough, the flowers follow the sun’s path during the day. They’re perfect for borders, containers, or even as houseplants indoors. Just a heads up they’re toxic if ingested, so keep them away from curious pets or kids.

Right Heliotrope Varieties
With so many options out there, selecting a variety depends on your garden’s style and climate. Traditional types boast deep purple blooms with that classic strong fragrance our grandparents loved. For something bolder, try ‘Marine’-it features vibrant purple flowers on compact plants, ideal for pots or edging. If you want a smaller version, ‘Dwarf Marine’ stays under a foot tall and works great in window boxes.
Newer hybrids offer more colors and better heat resistance. ‘Augusta Lavender’ has soft lavender petals that fade to white with yellow centers, growing bushier and wider-up to 3 feet across. For a lighter touch, ‘Iowa’ or ‘Aurea’ bring pale purple hues and a subtler scent. These are more perennial-like in warmer zones and handle humidity better than older kinds. If fragrance is your top priority, stick with classics like ‘Marine’-its smell is unbeatable.
When shopping, look for healthy starts at nurseries in spring. Avoid leggy plants; go for bushy ones with no yellow leaves. In hotter areas, opt for heat-loving varieties to avoid wilting. Mixing a few types can create a colorful, scented display that lasts all season.
Planting Heliotropes Step by Step
Timing is key when planting heliotropes. Wait until after the last frost in spring-usually when soil hits 60°F-for best results. In most places, that’s late April or May. You can start from seeds indoors 10-12 weeks before that, but they’re slow growers, so many prefer buying transplants.
For garden beds, pick a sunny spot with at least six hours of morning sun. Afternoon shade helps in scorching climates to prevent burnout. Dig holes the size of the root ball, spacing plants 12-18 inches apart for good airflow. Loosen the roots gently before placing them in, then backfill with soil and water well.
Containers are a smart choice if your soil isn’t great or you want mobility. Use pots with drainage holes and fill with a mix of potting soil and compost. Plant at the same depth as they were in their nursery pots. I’ve found grouping three or four in a large container creates a fuller look right away.
If starting from seed, sow them on the surface of moist seed mix-they need light to germinate. Keep at 70-75°F with bottom heat if possible, like a heating mat. Germination takes 2-4 weeks, so patience is essential. Harden off seedlings before moving outside.
Soil and Sunlight Needs for Thriving Plants
Heliotropes aren’t picky, but they do best in rich, loamy soil that’s well-draining yet holds some moisture. Aim for a pH between 6.6 and 7.3-slightly acidic to neutral. Before planting, mix in compost or organic matter to boost nutrients and improve texture. Poor soil leads to weak growth, so don’t skip this step.
Sunlight-wise, full sun is ideal, but in hot regions, provide some afternoon protection to avoid scorching leaves. They love warmth, flourishing in temperatures from 65-80°F during the day, with cooler nights. Too much shade, and you’ll get fewer blooms and leggier stems.
For indoor growing, place near a south-facing window. Rotate pots weekly so they grow evenly toward the light.
Watering and Feeding Your Heliotropes
These plants like consistent moisture-keep the soil evenly damp but not waterlogged to prevent root rot. Water deeply in the morning, aiming at the base to keep leaves dry and fend off diseases. In containers, they dry out faster, so check daily during heatwaves.
Fertilizing keeps them blooming strong. Use a high-phosphorus formula for flowers-apply monthly in beds and every two weeks in pots. A balanced liquid feed works too, especially midsummer to encourage new growth. Over-fertilizing can lead to lush leaves but fewer flowers, so follow package directions.
Mulch around plants with compost to retain moisture and suppress weeds. This simple trick has saved me time weeding on busy summers.
Pruning and Everyday Maintenance
To keep heliotropes bushy, pinch back tips early on-this encourages branching and more blooms. Deadhead spent flowers regularly to redirect energy and extend the blooming season into fall.
Maintenance is straightforward: watch for yellow leaves, which might signal overwatering or nutrient issues. In humid areas, ensure good air circulation to avoid problems.
Handling Pests and Common Diseases
Heliotropes are fairly tough, but watch for aphids, spider mites, or whiteflies sucking on leaves. A strong hose blast or insecticidal soap usually does the trick. Powdery mildew can appear in damp conditions-improve airflow and avoid overhead watering.
Root rot from soggy soil is the biggest threat; always ensure good drainage. If diseases hit, remove affected parts promptly.
Overwintering and Propagating Heliotropes
n zones 9-11, they might survive as perennials, but elsewhere, bring them indoors before frost. Cut back by half, place in bright light, and water sparingly.
Propagation is easy via cuttings in late summer-dip in rooting hormone and pot in moist soil. Or save seeds, though hybrids might not come true.
For a head start next year, overwinter indoors and replant in spring.
Heliotrope Journey
Growing heliotropes rewards you with fragrance, color, and pollinator visits all summer. With the right spot, soil, and care, they’ll thrive and become a garden staple. Experiment with varieties and placements to find what works best in your space. Happy gardening-your yard will smell amazing!